
canon rebel t3 camera instruction manual
Canon Rebel T3 Camera: A Comprehensive Instruction Manual Guide
Welcome! This manual unlocks your Canon Rebel T3’s potential‚ offering a beginner-friendly‚ comprehensive guide to maximize your photographic journey and experience.
The Canon Rebel T3 is a fantastic entry point into DSLR photography‚ celebrated for its user-friendly design and impressive image quality. This guide serves as your companion‚ demystifying its features. Whether you’re a complete beginner or upgrading from a point-and-shoot‚ expect clear explanations. We’ll cover everything from initial setup to advanced techniques‚ ensuring you confidently capture stunning photos and videos with your new camera.
Unboxing and Initial Setup
Carefully unpack your Canon Rebel T3‚ verifying all included components: camera body‚ kit lens‚ battery‚ charger‚ strap‚ and manuals. Insert the battery and a compatible SD card. Connect the charger and fully charge the battery before first use. Set the date‚ time‚ and shooting preferences via the menu. Familiarize yourself with the basic layout – you’re now ready to begin!
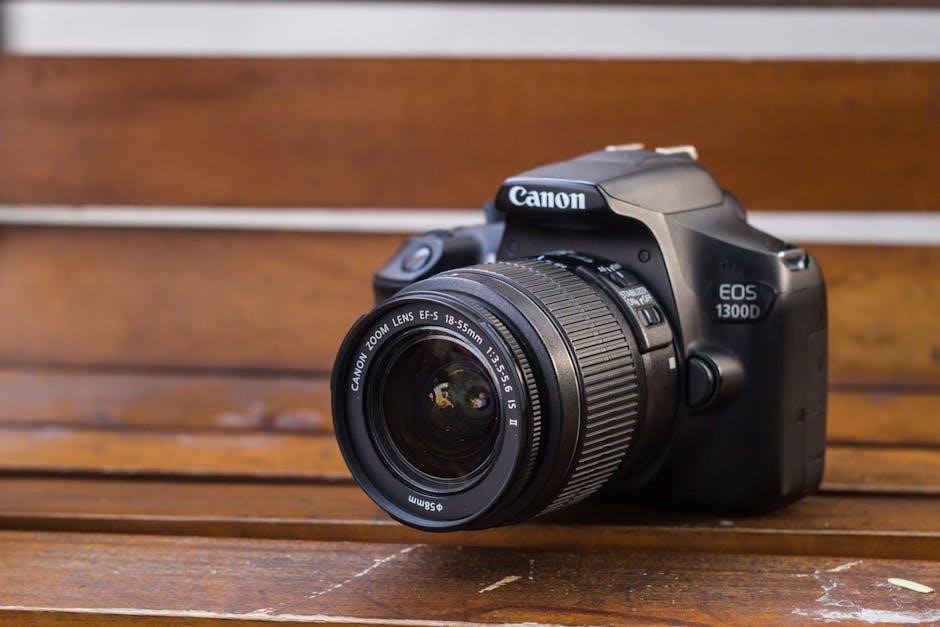
Understanding the Camera Body & Controls
The Canon Rebel T3 features an intuitive layout. Locate the power button‚ shutter release‚ and mode dial. Explore the directional buttons for menu navigation and settings adjustments. The LCD screen displays shooting information and playback options. Understanding these core controls is fundamental to operating your camera effectively and unlocking its full potential for stunning imagery.
Buttons and Dials: A Detailed Overview
The Rebel T3’s buttons include the shutter release‚ menu‚ set‚ directional pad‚ and playback buttons. Dials control mode selection and quick settings adjustments. The zoom lever adjusts magnification during live view and playback. Familiarize yourself with each control’s function for seamless operation. Practice manipulating these elements to gain proficiency and enhance your shooting experience.
The Mode Dial: Exploring Shooting Modes
The Mode Dial is central to controlling your Rebel T3. It features Auto‚ Program (P)‚ Aperture Priority (Av)‚ Shutter Priority (Tv)‚ Manual (M)‚ Movie‚ and Scene modes. Auto offers simplicity‚ while P provides semi-automatic control. Av and Tv let you prioritize aperture or shutter speed‚ respectively. Manual mode grants full creative control‚ and Scene modes optimize settings for specific situations.
Navigating the Menu System
The Canon Rebel T3’s menu is accessed via the ‘Menu’ button. It’s organized into distinct tabs: Shooting‚ AF‚ Quality‚ Setup‚ and Custom Functions. Use the directional buttons to navigate and the ‘Set’ button to select options. Familiarize yourself with each tab to customize settings like image quality‚ autofocus behavior‚ and camera preferences for optimal performance.
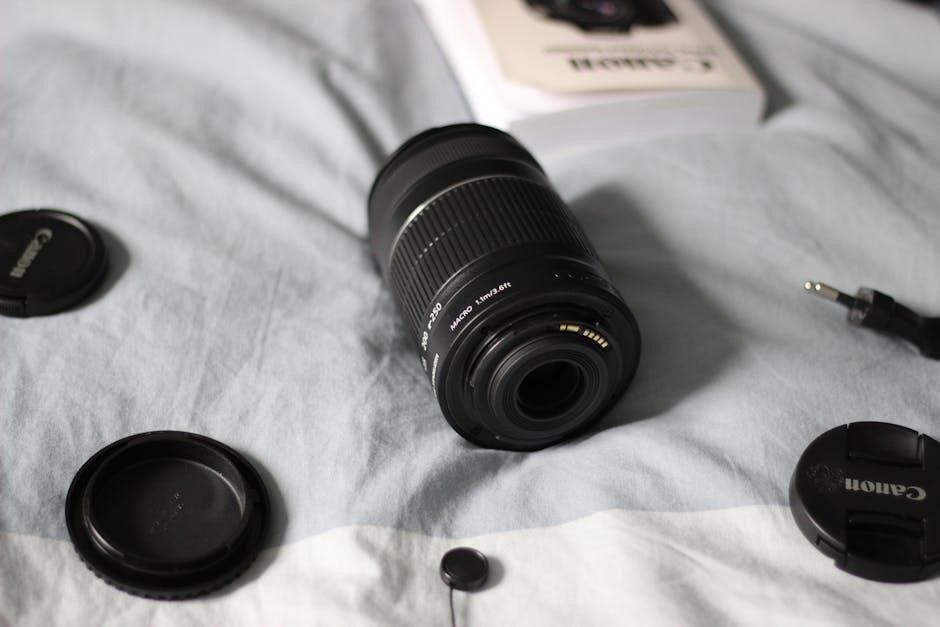
Understanding the Lens
The lens is crucial for image quality. Canon’s EF and EF-S lenses are compatible with the Rebel T3. EF-S lenses are designed specifically for crop-sensor cameras like this one. Different lenses offer varying focal lengths for wide-angle‚ standard‚ or telephoto photography. Understanding lens specifications will help you choose the right tool for your creative vision.
Lens Compatibility and Types
Canon’s EF and EF-S lenses are fully compatible with the Rebel T3. EF lenses work on both full-frame and crop-sensor cameras‚ while EF-S are designed for crop sensors. Lens types include kit lenses‚ prime lenses (fixed focal length)‚ and zoom lenses (variable focal length). Consider your photographic needs when selecting a lens – each type offers unique advantages.
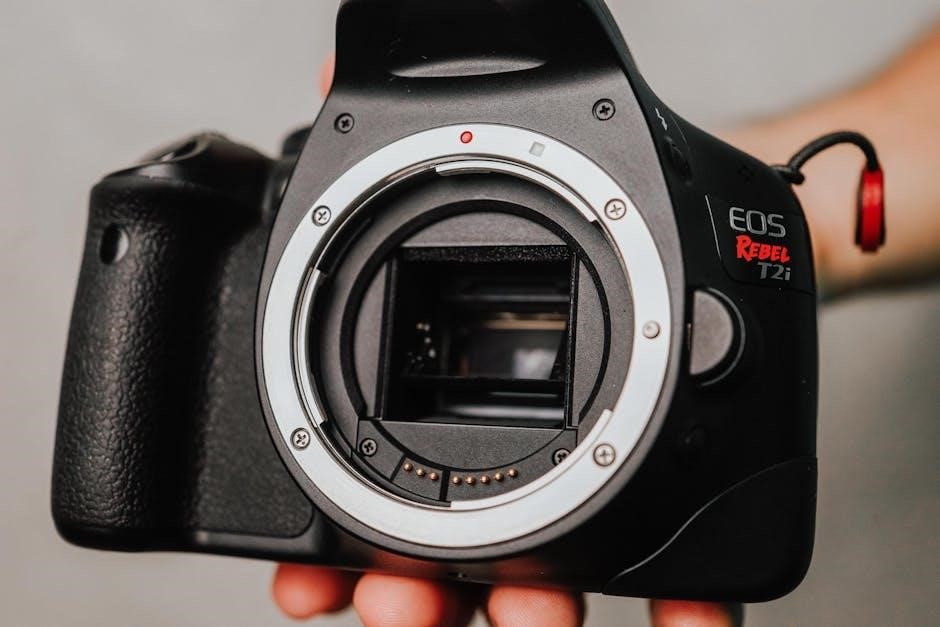
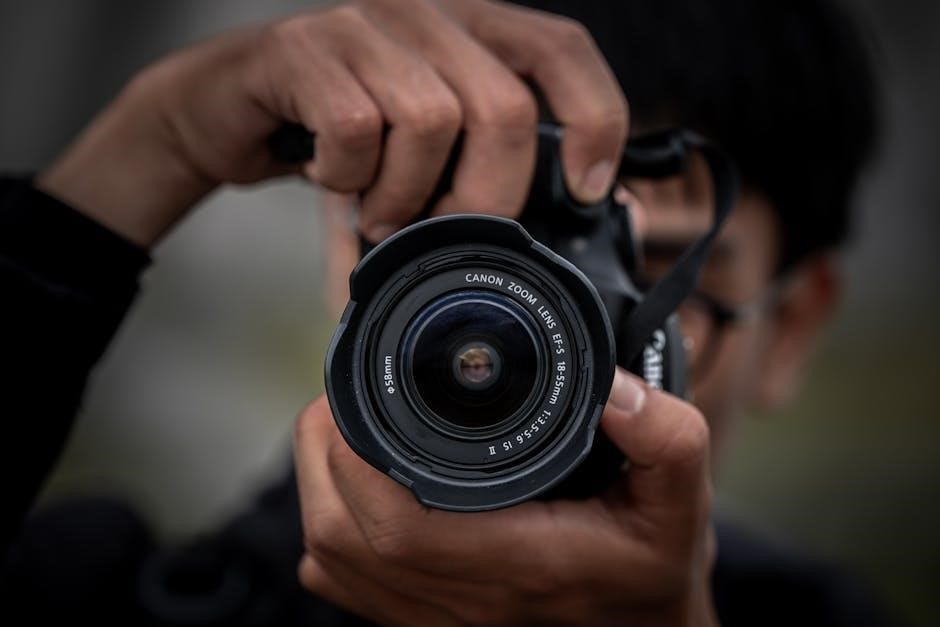
Attaching and Detaching Lenses
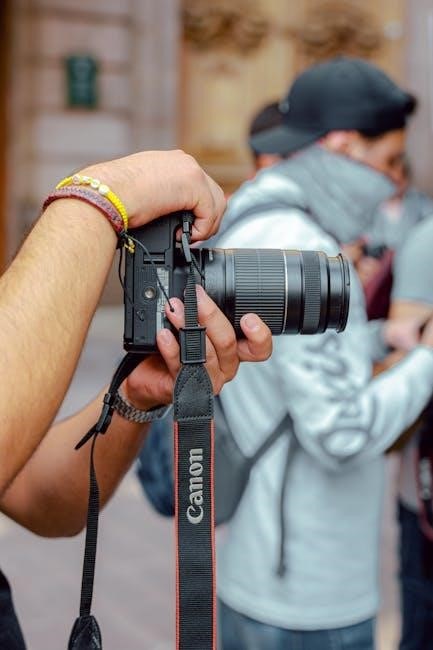
To attach a lens‚ align the white dot on the lens with the dot on the camera body‚ and gently rotate clockwise until it clicks. To detach‚ press the lens release button on the camera body‚ then rotate counter-clockwise. Always hold the lens and camera body securely during these steps to prevent damage.
Basic Photography Settings
Mastering core settings is crucial for great photos. Aperture controls depth of field‚ shutter speed affects motion blur‚ and ISO determines sensitivity to light. Understanding their interplay allows creative control. White balance ensures accurate colors‚ while focusing modes – autofocus and manual – guarantee sharp images. Experiment to find what works best!
Aperture‚ Shutter Speed‚ and ISO Explained
Aperture (f-stop) dictates lens opening‚ impacting depth of field – lower f-stop means shallower depth. Shutter speed controls exposure duration; faster speeds freeze motion‚ slower speeds blur it. ISO measures light sensitivity; higher ISOs are useful in low light but introduce noise. Balancing these three creates properly exposed‚ creative images.

White Balance: Achieving Accurate Colors
White balance corrects color casts caused by different lighting conditions. The Rebel T3 offers presets like Daylight‚ Cloudy‚ and Tungsten. Auto White Balance (AWB) often works well‚ but custom settings ensure accurate colors. Incorrect white balance results in images appearing too warm (yellowish) or cool (bluish). Experiment to find the best setting for your scene!
Focusing Modes: Autofocus and Manual Focus
Autofocus (AF) lets the camera automatically achieve sharpness‚ ideal for moving subjects. The Rebel T3 offers One-Shot AF for stationary subjects and AI Servo AF for tracking motion. Manual Focus (MF) gives you complete control‚ useful in low light or for precise focusing. Switching between modes is done via a switch on the camera body.

Shooting Modes Explained
The Mode Dial on your Canon Rebel T3 unlocks various shooting styles. Auto Mode simplifies photography for beginners. Program (P) offers semi-automatic control. Aperture Priority (Av) lets you control depth of field‚ while Shutter Priority (Tv) manages motion blur. Finally‚ Manual (M) grants full creative command over settings.
Auto Mode: Point-and-Shoot Simplicity
Auto Mode is perfect for beginners‚ offering effortless photography. The Canon Rebel T3 automatically selects optimal settings for exposure‚ focus‚ and white balance. Simply compose your shot and press the shutter button! It’s ideal for everyday snapshots and quick captures‚ requiring no prior photography knowledge. Enjoy instant results with minimal effort.
Program Mode (P): Semi-Automatic Control
Program Mode (P) provides a balance between automatic convenience and creative control. The camera sets the aperture and shutter speed‚ but you can adjust ISO‚ white balance‚ and exposure compensation. This mode is excellent for situations needing a little more customization than full Auto‚ yet avoiding the complexities of manual settings.
Aperture Priority (Av): Controlling Depth of Field
Aperture Priority (Av) mode lets you select the aperture (f-stop)‚ directly influencing the depth of field – the area in focus. A wider aperture (lower f-number) creates a shallow depth of field‚ ideal for portraits with blurred backgrounds. Conversely‚ a narrower aperture (higher f-number) maximizes depth of field for landscapes. The camera automatically adjusts shutter speed.
Shutter Priority (Tv): Capturing Motion
Shutter Priority (Tv) mode empowers you to control the shutter speed‚ dictating how motion is captured. Fast shutter speeds freeze action‚ perfect for sports photography. Slower shutter speeds blur motion‚ conveying a sense of movement – ideal for waterfalls or light trails. The camera automatically selects the appropriate aperture for correct exposure‚ simplifying creative control.
Manual Mode (M): Full Creative Control
Manual Mode (M) grants complete control over both aperture and shutter speed‚ allowing for ultimate creative expression. This mode requires understanding the relationship between these settings and ISO to achieve desired exposure. It’s ideal for challenging lighting conditions or when a specific artistic effect is desired‚ offering unparalleled photographic flexibility.
Working with the Viewfinder and LCD Screen
The Viewfinder provides a clear‚ real-time view of your composition‚ displaying crucial shooting information like focus points and settings. The LCD Screen offers a larger‚ brighter preview‚ enabling image review and menu navigation. Customize display options on the LCD for optimal visibility and information presentation during shooting and playback.
Viewfinder Information and Settings
The viewfinder displays focus points‚ shooting mode‚ and exposure settings for precise control. Diopter adjustment corrects vision‚ ensuring a sharp image. Grid display aids composition‚ while AF point selection allows manual focus point choice. Familiarize yourself with these settings for a tailored viewing experience‚ enhancing accuracy and creative control;
LCD Screen Display Options
The LCD screen offers various display options for reviewing and composing shots. Info. display shows essential shooting data. Grid display assists with composition‚ ensuring level horizons. Histogram visualizes tonal distribution‚ preventing over or underexposure. Customize these settings via the menu to tailor the display to your preferences for optimal viewing and control.
Recording Video with the Rebel T3
The Rebel T3 captures video in various resolutions‚ including 720p HD. Select your desired video resolution and frame rate (e.g.‚ 30fps) within the menu; Explore audio recording options; the built-in microphone is suitable for basic use‚ but an external microphone enhances sound quality. Remember to use a compatible SD card with sufficient storage for longer recordings.
Video Resolution and Frame Rates
The Canon Rebel T3 primarily records in 720p High Definition (HD). Within the camera’s menu‚ you can select from several video resolutions and frame rates. Common options include 1280×720 at 30‚ 25‚ or 24 frames per second (fps). Higher frame rates are ideal for smoother motion‚ while lower rates can create a cinematic look.
Audio Recording Options
The Rebel T3 features a built-in microphone for capturing audio during video recording. However‚ the quality is limited. For improved sound‚ an external microphone can be connected via the 3.5mm microphone jack. Audio levels can be adjusted manually within the camera’s menu to prevent clipping or excessively quiet recordings. Monitoring audio while filming is crucial.
Image Playback and Review
Reviewing your photos is simple! Use the playback button to view captured images on the LCD screen. Zoom in to check focus and detail. The histogram display helps assess exposure. You can navigate images individually or in batches. Image rotation is also possible within the playback menu. Don’t forget to utilize the delete function for unwanted shots!
Viewing Images on the LCD Screen
Press the playback button to instantly view photos on the Rebel T3’s LCD. Use the cross keys to scroll through images. The “Info” button toggles display information like settings and histogram. Zoom using the zoom control for detailed inspection. Rotate images for correct orientation. Adjust brightness for optimal viewing in various lighting conditions – a truly immersive experience!
Deleting Images
Select the image you wish to remove during playback. Press the “Delete” button – a trashcan icon – and confirm your choice; You can delete single images or multiple images at once. Be cautious‚ as deleted images are often unrecoverable! Use the selection options to choose all images or a specific range for bulk deletion. Always double-check before confirming!
Transferring Photos to Your Computer
Transferring images is simple! Use a USB cable to connect your Rebel T3 to your computer; it will appear as a removable drive. Alternatively‚ use an SD card reader for faster transfer speeds. Once connected‚ copy the photos from the camera or SD card to your desired folder. Ensure proper ejection of the device to prevent data corruption.
Using a USB Cable
Connect the Canon Rebel T3 to your computer using a standard USB cable. Power off the camera before connecting. Your computer should recognize the camera as a removable drive. Browse the DCIM folder to access your photos and videos. Copy and paste the desired files to your computer. Always safely eject the camera before disconnecting the USB cable.
Using an SD Card Reader
Remove the SD card from your Canon Rebel T3. Insert the card into a compatible SD card reader connected to your computer. Your computer will recognize the SD card as a removable drive‚ allowing direct access to your photos and videos. This method is often faster than using a USB cable for large transfers. Eject safely when finished.
Troubleshooting Common Issues
Encountering problems? This section addresses frequent concerns. If your camera fails to power on‚ check the battery charge and compartment connection. Focusing difficulties often stem from incorrect focus mode selection or low light. Refer to the focusing modes section for guidance. Restarting the camera can resolve minor glitches.
Camera Not Turning On
Is your Rebel T3 unresponsive? First‚ ensure the battery is fully charged using the provided charger. Verify the battery is correctly inserted into the compartment‚ with a secure click. Try a different‚ known-good battery if available. Inspect the battery contacts for any dirt or corrosion. A faulty battery or connection is often the cause.
Focusing Problems
Experiencing blurry images? Confirm you’ve selected the correct autofocus (AF) mode for your subject – One-Shot for static subjects‚ AI Servo for moving ones. Ensure the focus point is positioned over your intended subject. Try switching to manual focus (MF) and adjusting the focus ring on the lens. Check lens cleanliness; smudges can hinder autofocus performance.
Maintaining Your Canon Rebel T3
Protect your investment! Regularly clean the camera body with a soft‚ dry cloth. Avoid harsh chemicals or abrasive cleaners. Store the camera in a cool‚ dry place‚ away from direct sunlight. Properly care for the battery – remove it for extended storage. Periodically inspect and clean the lens elements with a lens cloth and solution.
Cleaning the Sensor
Dust is the enemy! Sensor cleaning should be done cautiously. Use a blower to remove loose dust particles first; If needed‚ employ a sensor cleaning kit specifically designed for the Rebel T3. Follow the kit’s instructions precisely to avoid damage. Professional cleaning is recommended for stubborn or persistent dust.
Battery Care and Storage
Maximize battery life! Fully charge the battery before first use. Avoid extreme temperatures. When storing for extended periods‚ charge to around 40-60% and remove from the camera. Do not leave a fully charged or depleted battery sitting in the camera for prolonged times‚ as this can reduce its lifespan.
Advanced Features and Techniques
Expand your creativity! Explore the Rebel T3’s built-in flash for enhanced lighting control‚ experimenting with different modes for varied effects. Dive into creative filters – Monochrome‚ Sepia‚ and more – to instantly alter image aesthetics. Master these techniques to move beyond basic photography and unlock artistic potential.

Using Flash Effectively
Illuminate your shots! The Rebel T3’s flash offers Auto‚ Manual‚ and Red-Eye Reduction modes. Auto flash determines when flash is needed‚ while Manual allows full power control. Red-Eye Reduction minimizes red-eye effects in portraits. Experiment with bouncing the flash off ceilings or walls for softer‚ more natural lighting results.
Creative Filters and Effects
Enhance your imagery! The Rebel T3 features several creative filters like Vivid‚ Portrait‚ Landscape‚ and Monochrome. These filters alter color and contrast for unique looks directly in-camera. Explore the effects to quickly achieve desired styles without post-processing. Experiment to discover how each filter impacts your photos‚ adding artistic flair!